Contents
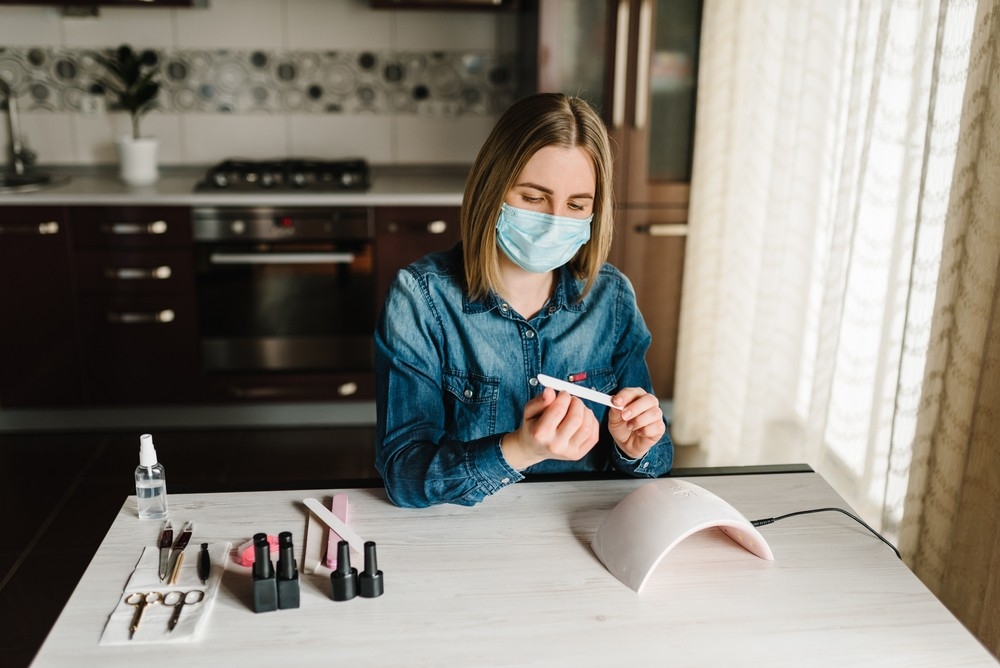
While you enjoy having acrylic nails, do you dislike how expensive they are? You may find a step-by-step tutorial for applying acrylic nails at home in a guide that has been developed.
The infatuation with acrylic nails, a longtime aesthetic treatment, is growing. With new fashion trends and ideas always appearing, most people desire to learn how to make acrylic nails at home. With Maby, you can take the initiative in everything.
You save money and develop a great passion by doing acrylic nails at home. If you have decided to enter the acrylic nail fray, you will learn all about acrylic nails below. Proper nail care with Maby blog.
Things Required To Do Acrylic Nails Yourself
If this is your first time, the most straightforward strategy is to get a DIY acrylic nail kit. So that you will be aware of the situation, a kit should come with detailed instructions. When purchasing a nail kit, search for ethyl methacrylate-made tips.
It is better than risky ethyl methacrylate, which is terrible for the environment and your nails.
If you have more experience, you can purchase the goods you need based on your desires. For your own DIY acrylic professional kit, get these:
Clippers.
Semi-coarse nail file and buffer.
Nail dehydrator.
Acrylic brush.
Mixing bowl.
Acrylic nail primer.
Acrylic liquid.
Acrylic powder.
Acrylic nail tips and glue.
1. Prep Your nails
Before you begin, you must become an expert at nail preparation.
Start by taking off your nail polish and removing any residual gel or acrylic properly.
If you have a cuticle pusher, use it to gently push your cuticles back without cutting them. Make sure they don’t overdo it or bleed; applying acrylic to cuticles or nails that are already damaged is a bad idea.
After trimming your nails, buff each one in a left-to-right motion to remove any additional shine.
2. Select the tip size and use the acrylics
Your DIY kit has various acrylic tip sizes, so you must pick the right one for each nail.
If you can’t find the right fit, shape it with a nail file so that it fits precisely.
Once you have 10 tips, use a nail glue dot to place each one at a time. Make sure the tips are straight and even by taking time during this process.
Your nail should rest on the acrylic tip’s base around one-third of the way down.
To fix each nail, exert pressure for 10 seconds.
3. Shape it
Using a nail clipper and a file, shape the acrylics into your favorite shape and length, whether round, square, or coffin. With practice, you can accomplish a variety of shapes and sizes and choose the perfect one for your hands.
If you detect a visible line where the tip meets your actual nail, use a buffer to smooth it off.
4. Apply the Dehydrating Primer
Put the acrylic liquid into the mixing bowl and arrange the ingredients and powders so that they are simple to access after your tips are prepared and molded.
Because acrylic liquid has a potent smell, ensure the area is well-ventilated by turning on a fan or opening a window.
To ensure that the acrylic mixture adheres to the nail, first apply the dehydrating nail primer to remove any moisture that may still be present on the nails.
The next step is to rub the nails with a lint-free pad after the primer has had time to dry.
5. Nail Coating with the acrylic mixture
Dip your brush into the acrylic powder after adding the acrylic liquid and pressing the bowl side to remove any excess.
Before attaining the ideal liquid-to-powder ratio, practice a little. It should be simple to spread the mixture, but not too wet.
Apply it starting just above your cuticles and working toward the finish.
After each application, dry the brush with a paper towel. Also you can refer to: 13 Ways To Show Your Love For Your Hands And Nails
6. Let It Dry
Recognize that acrylic is temperature-sensitive. The sooner it sets, the warmer your room is. As you start learning to make acrylic nails, pick a more laid-back setting so you can apply the mixture before it dries.
The drying time should be about ten minutes. The simplest way to determine if they are dry is to tap on your nails delicately; if you hear a clicking sound, you are ready.
7. Shape Finish
A little trimming would be beneficial as your nails are prepared and well-shaped. Use a semi-coarse nail file to shape the edges and tips to the ideal Instagram-worthy shape. You can also quickly cross the nails with the buffer to create a smooth surface.
8. Paint Your nails
You can achieve the desired color after step 5 by adding acrylic powder, or you can paint your nails in the last step with clear or colored nail polish. Alternatively, you can mix your nail paint at home to acquire the perfect color.
Make sure your nail is completely covered in your polished, professional finish and given time to dry entirely.
Takeaway
These days, acrylic nails are more impressive than ever and could be quite pricey. The preceding tutorial explains how to apply acrylic nails; it saves you a lot of money and offers you the flexibility to alter your mind at any time.