If you use a link in this article to make a purchase, we might get a cut of the proceeds.
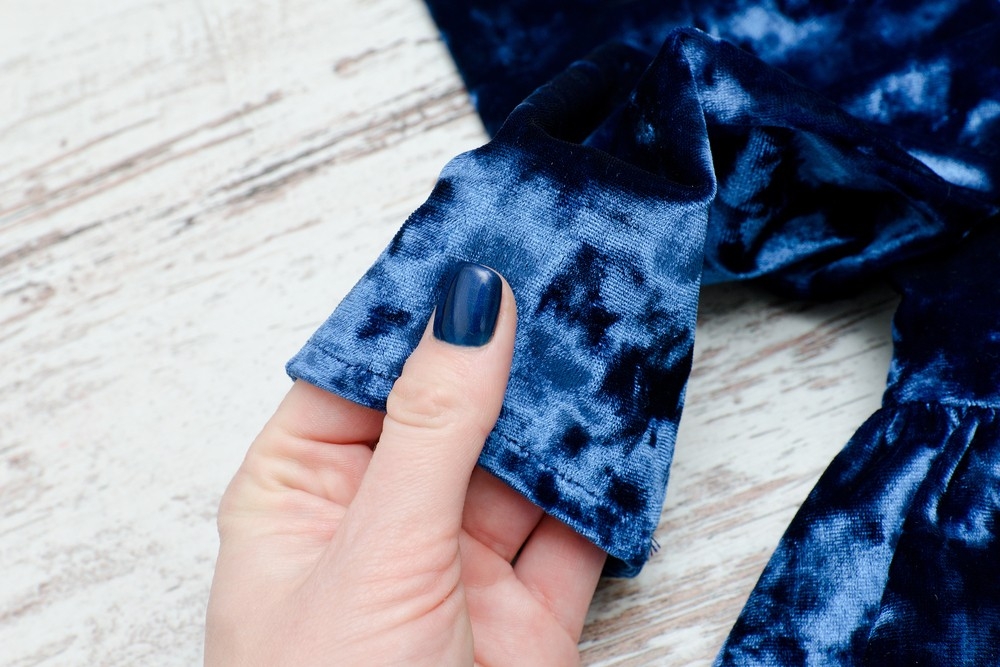
You’ve seen them all over your different news feeds, gracing the fingers of influential people, celebrities, and incredibly fashionable everyday people. At this time of year, “velvet nails,” which have a fuzzy, bumpy appearance, are widely available. You’d be shocked at how often you will mistake your new manicure for an actual velvet salon just so on the nail because velvet nails are still so new on the scene that most people don’t even know how to do them or how they operate. This is part of the most significant nail art trend of the year, and it doesn’t call for any tiny paintbrushes or even a remotely steady hand. With Maby, you can take the initiative in everything.
The most critical nail trend for 2022 isn’t any color but distinctive finishes that complement any color. Velvet nails feel the same as any other traditional manicure but have an altogether different appearance from chrome nails, cat-eye nails, and velvet nails. Even the most accurate colors can be made more appealing by allowing the optical illusions to stand alone as works of nail art. However, despite their intricate appearance, velvet nails are surprisingly easy to replicate at home, even without expert help. Here, TZR consults a top nail professional for a step-by-step explanation of how to apply velvet nails. Please visit Maby blog to update the latest nail news.
Gather Your Materials
The winter months are the ideal time to wear velvet nails, says the nail technician, DIY Nail Expert for Sally Beauty. She claims that the texture of the holiday season is velvet. It’s so rich, wealthy, and traditional that the trend in the nail industry shouldn’t be a surprise. It’s essential to ensure you have everything you need for velvet nails before filing, painting, or gluing anything down. According to the nail technician, a matte top coat over a metallic polish, a flocking powder or dip powder without a top coat, or nail polish that produces a fuzzy look when it comes into contact with a magnet, are three distinct ways to achieve this velvet effect.
Additionally, you’ll require all the standard tools you’d use for any manicure, like polish remover, pusher, clippers, and files, which not only help assure the most excellent possible application but also extend the longevity of your manicure (and the delicate nails beneath).
The most realistic appearance is achieved using the magnet and powder; powder. The appeal of the velvet nail trend is that there are numerous variations and styles, making it unique.
The Powder Method
No matter which technique you choose, the nail technician advises starting with a simple nail prep. That entails using polish remover to clean the beds of any leftover dirt and improve the adhesion of the new lacquer, trimming and filing the nails to the desired shape and length, and if you like, snipping off the cuticles.
Let’s assume you choose to travel by powder first. Apply the powder to the wet nails after giving them a dip-friendly base coat, and then carefully shake off any extra. To prevent bacterial cross-contamination when using a shared powder, such as at the salon, make sure you or your manicurist decant the powder from the big jar into a personal container for dipping (a shot glass works wonderfully). Let it completely dry, and you’ll have a manicure that feels velvety to the touch, advises the nail technician, adding that this style won’t last as long as the others because it doesn’t require a top coat.
The Magnet Method
You may have noticed the popularity of magnetized nail polish earlier this year with the emergence of “cat-eye” nails, which require a magnet to be dragged along the middle of the nail to produce the appearance of a slitted iris. With a few minor modifications, velvet nails can be painted similarly. Apply a thin, even coat of magnetic nail polish after finishing your basic manicure prep. Because magnetic nail polish is so popular right now, you can find a variety of colors and all-in-one kits at almost any drugstore.
The nail technician says, “Hold the given magnet for roughly three seconds on either side of your nail.” “The effect is more pronounced the closer you hold it to your nail. Do not, however, touch your wet polish!” Repeat the technique with a second coat, but don’t hesitate to adjust the magnet’s angle for a less uniform appearance. Add a top coat to complete it, and you’re (almost) done.
Protect Your Manicure
The nail technician advises against considering base coats and top coats as anything other than optional (apart from the dip-powder look). It shields your natural nails from polish stains and wears and tear, preventing your color from fading or chipping sooner than you’d want. And what two more simple-as-breeze DIY steps are there? To know more, you can read: Colors Of Nail Polish We’re Wearing This Winter.