Contents
The French manicure would be the all-time most traditional kind of nail art. While we’re always looking for new nail art, colors, and textures to take over our social media feeds, this straightforward design is a timeless classic that works for any occasion, from a business lunch to a semi-formal dinner. It’s also one of the most popular nail designs for brides.
So what tools do you need to create French tips at home?
- A French manicure is all about the nails, so use cuticle sticks, cotton balls, or cotton swabs to keep them clean. A nail file and buff will help you keep the desired shape.
- To maintain the health of the manicure, cuticle oil will assist in hydrating the nail bed and cuticle.
- A base coat will guarantee coverage and aid in the adhesion of the subsequent materials.
- You can obtain the desirable curved line that distinguishes a French manicure with nail tape or a silicone nail stamper. Add white (or your preferred French manicure color) polish.
- A preferred neutral hue.
- Finally, you’ll need a top coat to keep everything in place.
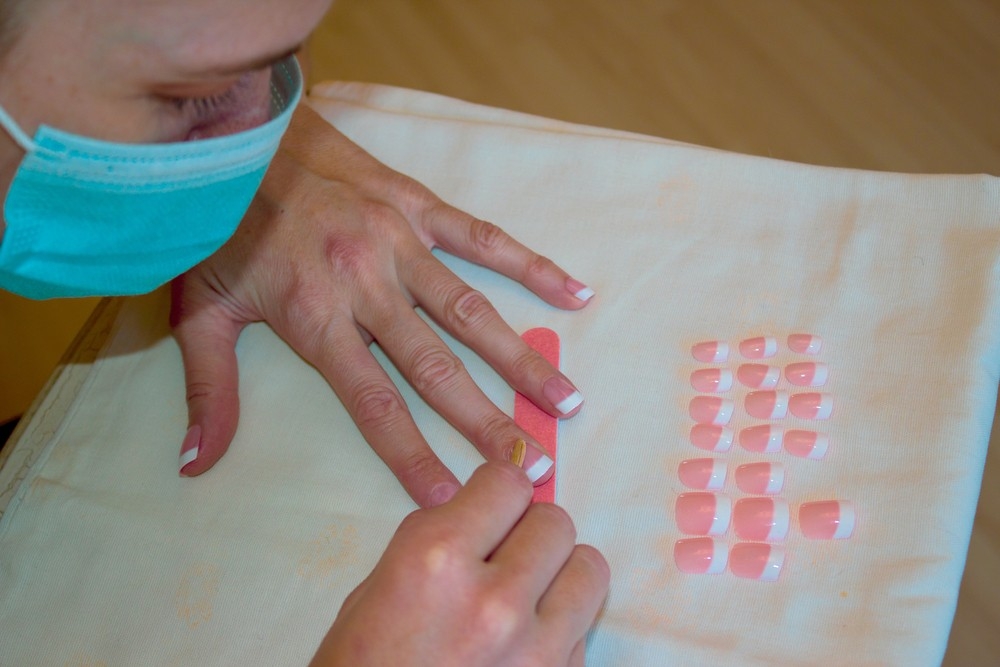
Clean and Shape Your Nails
According to a nail technician, “a classic French manicure should look tidy. Therefore it’s not just about the white painted line but also a well-prepared nail.” Wash your hands and use an acetone-free remover to remove old nail polish. Trim the edges with an orange wood stick dipped in nail paint remover and coated in cotton.
Nail technician advises that the mid-length almond and short square forms look ideal for French nail tips, even though French manicures may be performed on any nail plate and with any shape or length of nails. She continues that they don’t have broken edges, so your line will be symmetrical, but you only need to be conscious of it. With Maby, you can take the initiative in everything.
Hydrate your hands and cuticles and buff the nail plate
One manicure trick is lightly buffing the nails to make the lacquer last longer. Sritapan advises using a high grit buffer, such as the OPI Edge White 240 Grit File, with a light touch and exceptional attention to the cuticle region. There is a myth that buffing is harmful because it eliminates layers of the nails, but she clarifies that this is only true if it is done incorrectly and excessively.
Before pulling back your cuticles, make sure to saturate them in oil. Apply hand cream after using a body scrub to scrub your hands. Before applying the base coat, remove any hand cream from the nails by dehydrating the nail plate with nail polish remover or alcohol, advises the nail technician.
Apply the Base
Now it’s time to paint your nails. You’ll need two colors for a French manicure: one for the nail and one for the tip. Although French manicures can be entertaining, we’ll keep things traditional here. To achieve the best adherence, the nail technician advises beginning with one light coat of OPI Natural Nail Base Coat. She continues, “This one also keeps nails from being discolored or yellow.” She claims that because nail technicians consistently use the base coat, manicures performed professionally last longer than those performed at home. Visit the Maby blog to discover the most trending nail designs today
Add Tape
Nail tape can be helpful if you require a steady hand and still need to practice DIY manicure techniques. When your base coat is completely dry, firmly press the video to the end of your tip. You can choose a straight or curved white strip depending on the shape of your nails; however, letting the polish curve with your natural nail will make your nails look longer.
Paint the Tip of the Nail
Choose a solid white nail paint, then apply it on the exposed nail tip. Choose a contrasting white color like OPI Alpine Snow or Akzent Luxio Polar to produce a good line with just one layer.
Round Out the Line
Use a cotton swab or a small nail art brush to add a little white nail polish to the corners of the nail if you want to create a crescent shape rather than a straight line.
Add a Sheer Neutral Shade to Finish Off Your Manicure
This is the manicurist-recommended method for giving your French nails a much more natural appearance. “A transparent pink color helps conceal nail flaws or fading,” says Sritapan.
Finish With a Light Top Coat Layer
After removing any stray polish with a Q-tip dipped in nail polish remover, you’ll need to ensure that this art lasts as long as possible. Finish your at-home French manicure by applying a thin coat of a shiny top coat to seal and set it.
Final Look
And there you have it—a French manicure. Before putting your hands to work, play them carefully, as with any manicure: Your nails may need several hours to dry thoroughly, depending on the makeup of your top coat and nail polish. View more at Your glazed donut manicure can be upgraded for the holidays with velvet nails.