Contents
- Before you do anything else, you should start by cleaning your nails.
- Applying a Base Coat Is the First Step in Preparing Your Nails
- Don’t Give the Bottle a Shake
- It is Preferred to be Thin Rather Than Thick
- Put on a layer of clear top coat
- Allow Sufficient Time for Drying
- Maintain Constant Availability of a Top Coat
Everyone has had that experience at some point. You either did your nails yourself for an hour or went to your favorite salon and spent a little fortune, and now you’ve realized that your gorgeous manicure has a chip. Seeing that all of your effort and the money you worked so hard to gain has been wasted is one of the most irritating and upsetting things that can happen.
It is a good thing that there are a few easy tactics that you can try to avoid chipping from occurring in your manicure and to lengthen the time that it looks beautiful.
If your nail varnish chips just a few days after you paint it on, you should normally draw the conclusion that the polish was of poor quality and had an inferior recipe. Proper nail care with Maby blog.
However, a significant portion of success can be attributed to proper preparation, application, and ongoing maintenance. Unhealthy nails are another significant component; nails that are brittle, peeling or otherwise damaged not only make for a poor base, but they will also flake, break, and take your manicure with them.
When it comes to how to prevent your nail polish from chipping, we’d all love a single magical hack such as glazing your nails in an egg white top coat or freezing and defrosting your polishes (please do not try either of these, they are completely made up), but the real hack is knowing all of the mistakes to avoid and the steps to take to ensure a long-lasting manicure.
Before you do anything else, you should start by cleaning your nails.
Even if you don’t have any nail polish on your nails, the person doing your nails professionally will still use nail polish remover to clean your nails before applying the polish. You will notice this when you get your nails done at a salon. Why? This is due to the fact that your nails’ natural oils will prevent the nail paint from adhering to the surface of your nails. Remove any previous polish from each nail with nail polish remover first, then apply a new coat of polish.
Applying a Base Coat Is the First Step in Preparing Your Nails
If you prepare your nails with a base coat before applying polish, the polish will stick to your nails more effectively.
Don’t Give the Bottle a Shake
The silver mixing balls that can be seen within the bottle of nail polish are what are responsible for activating the product’s recipe. To activate them, you need to roll the bottle of nail polish between the palms of your hands, but you should never shake it. Shaking the bottle won’t do anything but increase the likelihood of getting air bubbles when the product is applied.
It is Preferred to be Thin Rather Than Thick
When compared to thicker coats, thinner coats have a greater chance of not smudging. It is possible to apply three thin coats of polish as opposed to two thick coats of polish.
It will cut down the amount of time needed to dry between coats, and there will be less of a possibility that bubbles will form on your nails if they are not allowed to dry completely in the allotted amount of time.
In addition, you can also try using nail polish of a higher quality, since this may prove to be more effective.
How to Remove Nail Polish From Hair Polishing Your Nail Tips Should Not Be Forgotten How to Remove Nail Polish From Hair
When polishing your nails, you should never, ever forget to polish the tips of your nails because doing so can help reduce the likelihood of chipping.
With shimmery colors, you’ll experience less chipping.
The nail polish will more easily adhere to your nails thanks to the small sparkling particles. If you already adore the glittery sheen, this is just one more reason for you to keep falling in love with it.
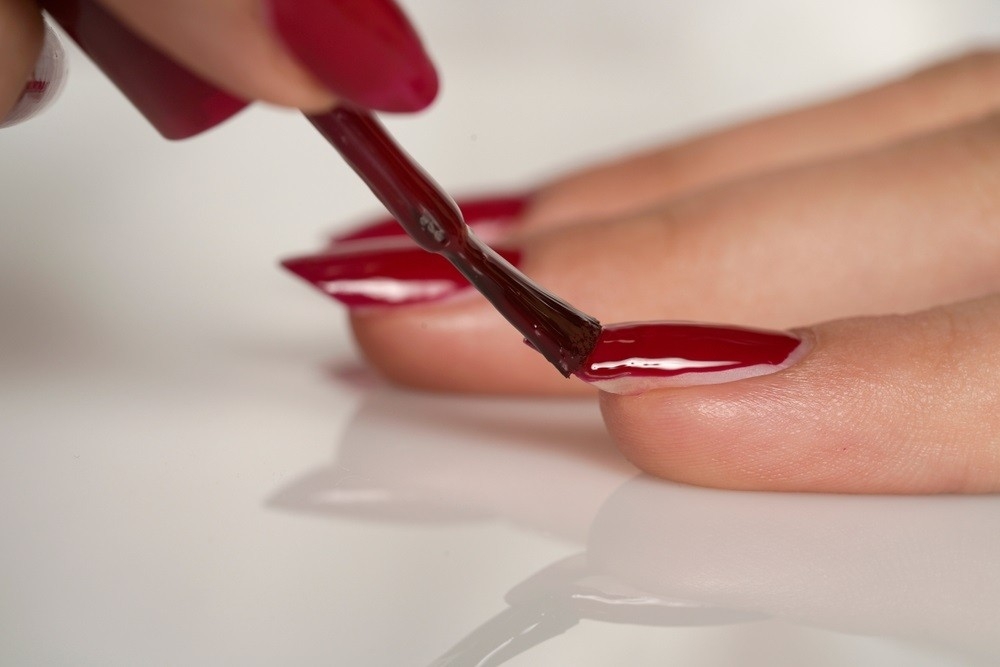
Put on a layer of clear top coat
The longevity of your manicure can be increased by using a quality top coat. The top coat can also be achieved by using the base coat. To provide an additional layer of protection against chipping, you can brush the top coat on and around the edges of your nails.
Allow Sufficient Time for Drying
Before you are able to hold things such as your shoelaces or keys with your nails, your nails need to have a drying time of around 45 minutes. After the allotted time for drying has passed, moisturize your cuticles and nails by soaking them in ice water. It will allow for a slipper surface right up until the point where your nails are completely dry.
If you are getting a pedicure but are going to be wearing shoes instead of sandals or flip-flops, you can wrap your toes with plastic wrap instead of using sandals or flip-flops.
Maintain Constant Availability of a Top Coat
If you want your manicure to last longer and look more beautiful, use a top coat once every other day. In addition, please refer to: Remove ridges from your nails with these tried and true methods.