Contents
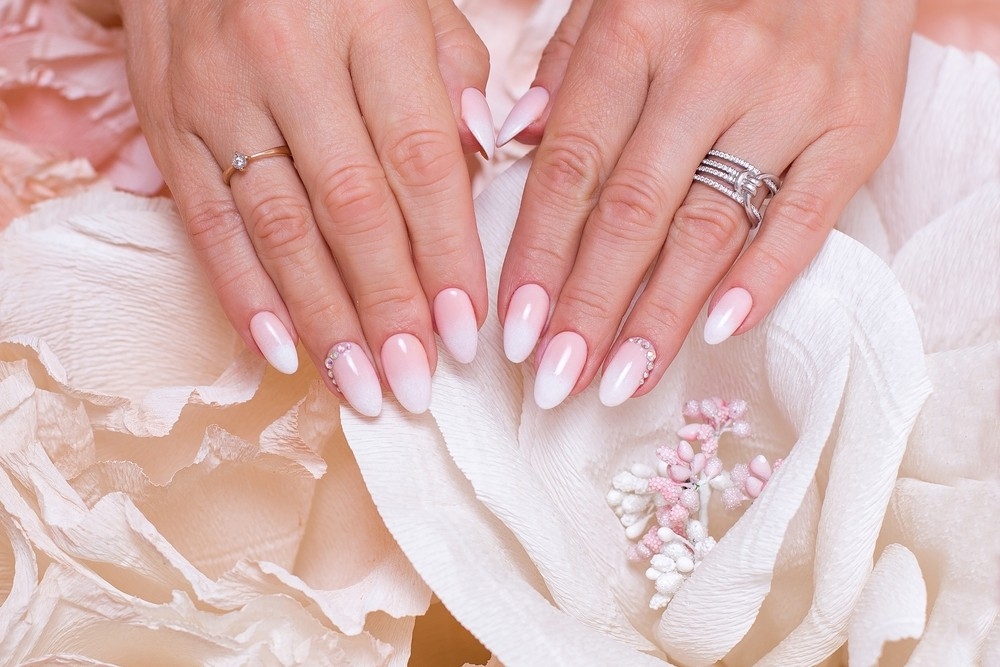
Ombré nails are a style of manicure in which a color gradient is made, much to ombré hair. The top of the nail starts bright and gradually turns darker as it approaches the tip. Although it can take some time and skill to achieve the ideal ombré effect, creativity has a lot of potential to make your ombré result distinctive. With Maby, you can take the initiative in everything. Please visit Maby blog to update the latest nail news.
1. Keep your nails neat
To remove any existing nail polish off your nails, dab a cotton ball lightly with nail polish remover. Use nail clippers to cut your nails until they are the correct length gently. Use a nail file to form your nails and smooth off any sharp edges.
- You can also push back your cuticles using a rounded manicure stick. This will help elongate your nail beds so your nails look longer.
- Alternatively, you can push back your cuticles using your thumbnail on your opposite hand.
2. Apply a clear base coat
Paint on a thin, clear base coat to all of your nails. A clear base coat protects your nails from getting stained by colored polishes and helps extend your manicure by decreasing the prevalence of chips in your nail polish.
3. Apply your base color coat
With ombré nails, your base color is usually a white polish or the lightest color you plan to use for the ombré effect. A white polish will help colors seem more vibrant, but using the most delicate of your planned ombré polishes will give a softer, more subtle ombré effect. Paint this background color on all of your nails.
- Apply two coats of your base color for an opaque base. Before applying the second coat, allow the first coat to finish drying thoroughly.
- To help your nails dry faster, it’s better to paint two thin coats of polish rather than one thick and heavy coat of polish.
4. Paint your ombré colors onto a makeup sponge
Paint your ombré colors in straight, horizontal lines across a small makeup sponge. The sponge area you paint should be the same width as your nail. Start by painting a line across the width of the sponge with the lightest color of nail polish. Then paint with the next darkest color underneath the first color. Finally, paint the darkest shade of polish underneath the second line. Be sure that all the colors are painted right next to each other with no exposed sponge between the colors. Paint a couple of coats of polish onto the sponge for each color, so the polish is wet enough to stamp onto your nail.
- Usually, two or three colors are used to create the ombré effect, but you can experiment with different colors and combinations to see what you like best.
- It may help dip the makeup sponge in water before painting the colors. Dip the makeup sponge into the water. Wring out the sponge until approximately 80% of the water is removed. Then paint on the nail polish colors.
- Drenching the sponge in water may keep it from absorbing excessive amounts of polish and having it dry out too rapidly.
5. Stamp the polish onto your nails
Stamp the polish onto your nail by pressing the sponge (with the polish side down) on your nail repeatedly, lifting the sponge away every couple of stamps to check and see if the ombré is dark enough and to your liking.
6. Your nails will be polished by rolling
By putting the side edge of the sponge close to the side of your nails, you may move the polish onto your nails. Roll the sponge slowly from one side of your nail to the other, and varnish the side down. Repeat this several times to make the ombré effect stronger and the polish colors darker.
- Some nail paint will end up on the skin around your nails due to this process. You can either apply tape to the area around your nails or edge the skin with a thin coating of petroleum jelly to prevent this. If not, you can wipe the sides of your nails using nail paint remover.
- There is a lot of freedom with how you transfer the paint to your nail. You can adjust the placement of the sponge (stamping vertically on the length of your nail, tilting the sponge to precisely stamp on a specific color) to make your ombré effect unique and original.
7. Update the sponge
Reload the polish onto the sponge after completing the ombré effect on one nail to keep the ombré hues moist and bright. Like previously, line the sponge with the lightest nail polish shade and work your way down to the darkest. Ensure that every polish color contacts the one next to it.
- Keep in mind; if you try to ombré your nails with a sponge that isn’t damp enough with polish, the dry sponge can pull off your base color coat and ruin your polish.
- If you stamp or roll your nails quickly, you likely only need to add polish to the sponge for every other nail.
8. Apply a top coat
Once you have given your nails adequate time to dry (about 10-15 minutes), add a top coat of clear polish to your nails. Consider doing two coats of a top coat to smooth out your nails since the sponging makes the surface of your nail a little stippled and bumpy.
9. Clean up the skin around your nails
Use a small paintbrush or Q-Tip dipped in nail polish remover to swipe along the edges and cuticles of your nails.
The cotton on the Q-Tip will help rub off the polish on the skin, whereas the paintbrush can be more exact in removing excess nail polish.
To know more, you can read: How to prevent infection while receiving a manicure or pedicure