Gel nail enhancements are becoming a more popular choice among nail professionals in place of conventional acrylics. Gels are a fantastic service for nail technicians, even though, in the words of nail art, “Gels are easy to learn but hard to master.” We review different methods to enable you to reach the required degree of skill. With Maby, you can take the initiative in everything, explore Maby blog to learn more about nails.
Tip and overlay
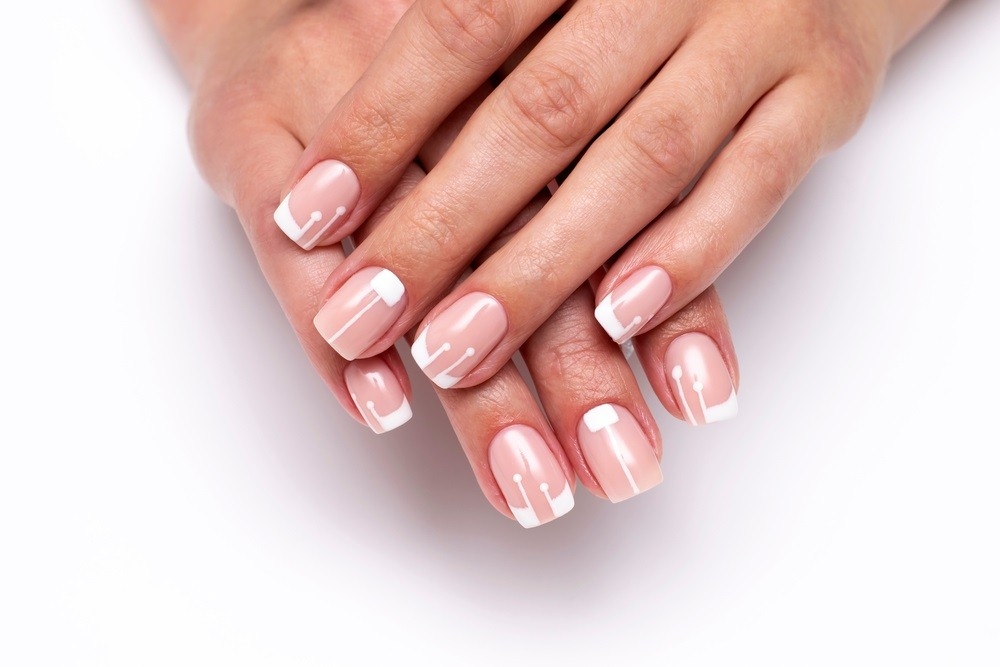
Utilizing French white or natural-colored, well-less tips will help you create a pink-and-white gel extension. Mix colors with the most beautiful natural pink nail polish. Follow the directions included in your gel system’s instructions to apply a set of gel nails using this technique; they should be rough as follows:
Clean up the nail. Trim and shape the free edge, buff the nail’s entire surface with a light-grit file to remove shine and surface oils, push back the cuticle, pull any extra dead tissue from sidewall to sidewall, clean the nail with a cleanser or dehydrate it, and let the nail dry naturally.
Make sure the well is positioned uniformly on each nail when applying the tip with sticky resin or glue. You must etch the tip to eliminate the shine when using gels. The tips can be lightly rubbed once the adhesive has dried to achieve this.
Apply a bonding agent to the nail as needed by your system. There are various types, including protein-based sticky bonders, classic primers, and fragile bonder gels.
Over the entire nail plate and extension, apply the clear or pink gel. Typically, a base gel, a building gel to add strength to the stressed area, and potentially a gloss finish are all required. To completely seal the augmentation, bring the gel down and around the free edge. To construct the nail using just one element, you can also try using a one-step gel technique. Learn more about how to do pink and white nails before creating gel nails.
Sculpting
Do you know about pink and white manicure? You must change how you think to sculpt a pink and white gel nail. The light must penetrate the entire extension. Start with a dry, clean, and oil- and debris-free nail. Either utilize exact forms made especially for sculpting gels or use conventional forms. Apply a slight coating of clear base gel to a typical structure, extend it to create a free edge, and then cure it for at least 30 seconds. After that, remove the form before adding the white so light can enter the extension’s bottom side and fix the white.
Once your extension platform is in place, you can apply the whitening gel.
Using a simplistic form, you can use white building gel to increase the thickness on the free edge. Pull the least quantity of gel over the tip region while butting the clear or pink building gel against the white. You’ll need to file the nail’s surface to perfect the shape. With practice and precise application, the nail could only need light buffing, or you might even be able to skip this step entirely. Apply a clear gel coat last to enhance the gloss.
You can use a clear builder gel or a colored gel polish to build the tip if you apply the enhancement using a standard form and straightforward gel extension. Gel polishing results in an opaque, thin nail extension because it adds color; the clear builder gel applied on top of the nail will enhance the enhancement’s strength.
While perfecting the smile line, you can work as long as you need using gels. You should work on one finger at a time because pigmented gels will move around on the nail, so you should rapidly lay a finished nail in the light to set the gel in place. Another fantastic advantage of gels is the ability to evaluate which of the ten white applications require adjustment and, if so, add a little extra product.
Add clear or pink builder gel to build the body in the stress area after applying the white. After that, fill the shape to perfection and apply a gloss coat.
Pink-and-white backfills
Pink and white gels can be easier to maintain than conventional acrylic improvements since the gel is easier to file and offers more backfilling possibilities. Gel backfills can be more complicated since you must apply the white without causing a thick, protruding nail extension.
Starting with the standard fundamental procedures, such as buffing the entire nail surface, thinning the white region, reapplying the new white, and finishing the regular fill at the cuticle area, is how gel backfills should be done. The entire white layer will likely be removed using gels instead of only making a trench in the smile line area and applying a new product next to it.
With 100-grit files, arbor bands, or other abrasives that grind rather than cut, filing gels is simple enough. Using a cutting abrasive, such as a carbide bit, over the nail plate area is not recommended since you risk cutting right through the soft gel and into the nail.
You will thin out the free edge as you attempt to remove the old white substance. Shape and shorten the nail simultaneously, blending and beveling the entire nail surface. To ensure that the length and shape are perfect for you and your customer, examine all 10 nails once they have been dusted off. As directed by your system, clean, dehydrate, and apply a bonder chemical to the fill area. Now you have options and follow the following nail tutorial:
1. Utilize color-pigmented building gel. Depending on your system, you might need to cover the entire nail in a gel base, let it cure completely, and then apply the white. There are numerous French white building gels available in varying viscosities. Some will level themselves, while others will remain in place.
2. To polish the free edge, use gel polish. A thin application of base gel may be required, and you must wait until it has thoroughly dried before proceeding. Or, if the open edges are entirely coated with a gel product, you can apply the gel polish directly to that area. Typically, if you use gel polish over a gel base coat and apply gel polish directly to the dried gel product, it will be a little softer. Working on one finger at a time, switching back and forth between hands, and having your client switch each hand in and out of the light is necessary. Once completed, you can proceed with the subsequent layer of builder gel or one-step gel and cure all 10 free edges to your satisfaction. In addition, you can refer to more about pink and white acrylic nails. This is a really beautiful nail trend you must try!