Contents
A timeless and well-liked manicure for nails is pink and white acrylic nails. You might want to learn how to do a pink and white manicure if you are new to nail design or looking to advance your abilities. To begin, you will need a few unique ingredients. Explore Maby to learn more about nails.
1. Collect your materials
Pink and white manicure necessitate the use of specific materials and knowledge. It is, however, simple to learn how to accomplish them. Before you begin, you will request and follow this nail tutorial:
- nail polish remover
- nail file, preferably glass
- pusher of cuticles
- acrylic fluid
- acrylic granules in pink and white
- nail brush made of acrylic
- acrylic nail shapes
- topcoat in clear
- tissue paper
2. Get your nails ready
A pink and white manicure should only be performed on prepared nails. You must clean your nails to get a pink and white manicure.
- Wash your hands.
- Remove any old nail polish.
- File and buff the nails.
- Push back the cuticles
3. Put on the nail forms
The natural nails and fingertips fit over nail shapes. The shapes make it simple to build nail tips with acrylic powder and liquid that look natural. Place a nail form on each of the nails before you get started. In addition, you can refer to how to do pink and white gel nails.
- The nail forms’ open sections cross over the tops of the nails.
- The glue on the nail shapes will aid in keeping them in position.
4. Make an acrylic liquid and powder ball
To make your nail tips, pink and white acrylics, you must roll little balls out of acrylic liquid and powder. Start by immersing your brush in the acrylic solution. Incorporate the brush into the acrylic powder next.
- Having a tiny ball of acrylic on your brush would be beneficial. Take the ball and lay it on the tip of your nail.
- After you’ve put the ball on the nail form, wipe your brush with a piece of paper.
5. Form the ball into a nail tip
Start shaping the acrylic ball into a nail tip using your brush and the nail form. Round out the tip and draw a circular border where it will meet the natural nail. The smile line is a circular section essential for a good pink and white manicure.
- Beginning with the center of the nail bed, continue to shape the grin line so that its edge starts there. The middle of the grin line should be closer to the nail’s tip and farther from the cuticle.
- The natural nail can serve as a guide for you. To help you draw the smile line, trace the nail’s curvature. The nail form can also aid you in acquiring the proper shape.
- Straighten the sides of the tip after finishing the grin line’s shaping. The sidewalls are what they are called. From the nail bed, they should appear to extend straight out.
- Make a flat edge along the nail’s tip to complete the nail tip shaping.
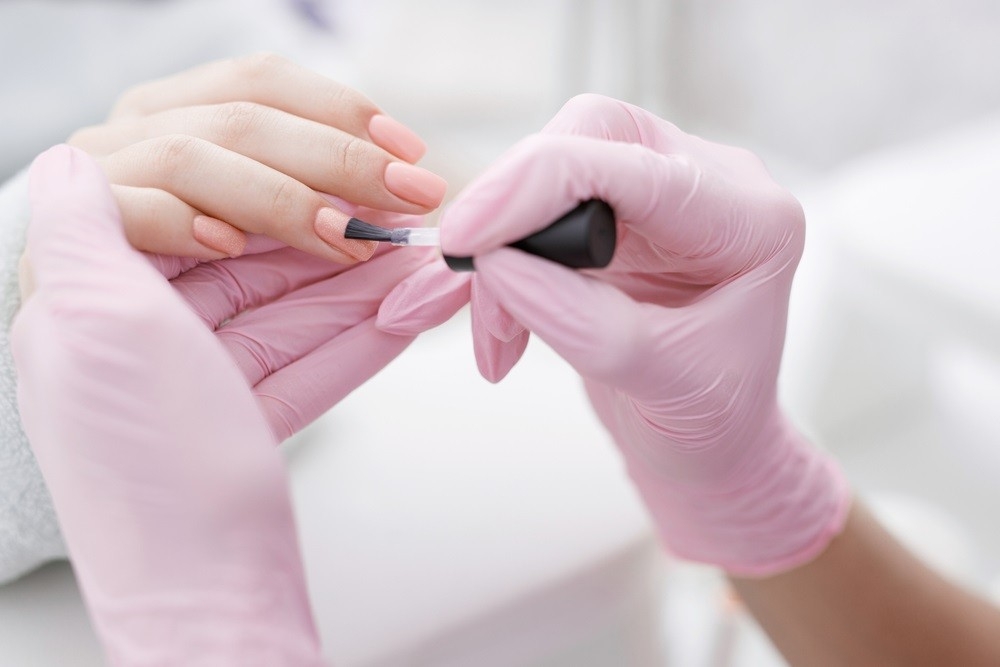
6. Create the nail’s pink portion
The pink portion of the pink and white nails must then be created using pink acrylic liquid and powder. Before dipping it into the pink acrylic powder, dip your brush into the acrylic liquid. Put this pink acrylic ball close to the edge of the white acrylic nail tip you’ve just made. Let’s color with the most beautiful natural pink nail polish.
- The pink ball should be positioned above the regular nail. The white acrylic’s grin line should be flush with the pink acrylic’s border.
- To cover the space where the artificial nail will overlap, you must make many pink acrylic balls.
Finishing the Look
1. Take the nail forms off
You can take off the nail forms once you’ve completed making all the pink and white nails and giving them time to dry. Most of the nails should be dry by the time you’ve finished your set because acrylic dries quickly.
- The nail forms can be removed by sliding each one forward and inserting the nail through the top aperture of each form.
2. Trim the nail ends
The tips must then be filed to ensure uniformity. Each nail should first have one edge filed. File such that the sidewalls extend straight out from the regular nail. Then, repeat the process for each nail on the opposite side. The nails can then start to be shaped after that.
- To choose the optimum nail form, remember to check the nail bed. An oval tip can look ideal if the cuticle is curled in the nail bed. A square-tipped nail may look best if the nail bed is square and extends to the cuticle.
3. Apply a top coat
After filing the nails into a pleasing shape, you can apply a clear topcoat to each nail. This will help to protect the nails and give them a good shine. Apply two or three layers for maximum shine and protection. This is such a popular trend nail design, give it a try!