Contents

Everyone chooses DIY nails these days. The options range from press-on nails to traditional manicures. And nail stickers should be on your nails if you’re looking for an alternative that can significantly speed up your manicure procedure. For those who don’t have the time to sit in a salon chair but still want to participate in the newest nail art trends, nail stickers are the ideal solution. Thanks to this popular cosmetic product, you can give your nails a professional look with elaborate manicure designs and patterns in the solace of your home. You must first obtain the 4-1-1 before experimenting with the trend because nail stickers come with their regulations. Please keep reading to learn more about nail stickers and how to use them. Maby constantly updates new nail salons opening in the city with trending nail designs. Explore Maby blog to learn more about nails.
What are nail stickers?
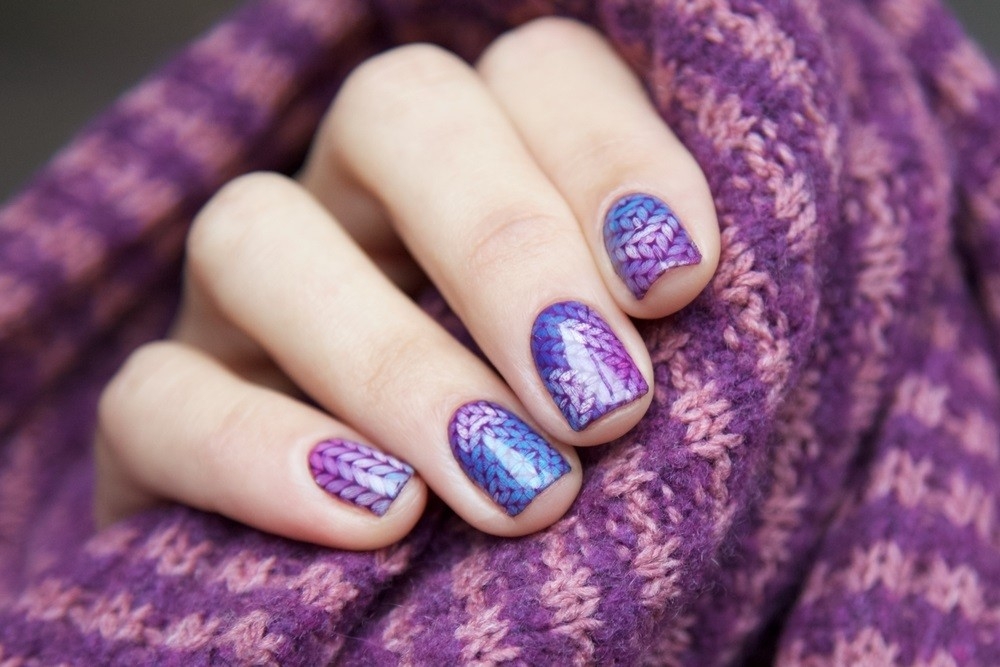
As the name implies, nail stickers are made of nail polish with an adhesive layer on one side and a nail paint color or design on the other. Typically, nail stickers come in pre-cut sizes that cover the nail and take the place of polish. They are also available as smaller stickers that may be utilized to add flair to a basic manicure.
Of course, unique designs are just some of the ones for which nail stickers can be used. Solid nail colors offer possibilities for a simple look if you choose to have a minimalist manicure. Using them, you can avoid the mess and drying time associated with conventional nail polish.
Also you can refer to: Holographic Nail Designs That Look Out of This World
Are nail stickers safe?
The good news is that nail sticker won’t harm your nails. You’re safe because nail stickers may be removed without damaging your nails.
How long do nail stickers last?
When properly placed on your nails, you can anticipate nail stickers to last up to two weeks. Remember that the more precisely you apply the nail stickers, the longer they will endure.
How do you apply nail stickers?
Are you prepared to use nail stickers to create that elaborate nail design? To master this trend, follow these nail tutorials:
Step 1. remove old nail polish
Make sure your natural nails are neat and clean before putting on your nail stickers. Prepare the scene using nail polish remover to remove any old polish from your nails.
Step 2. file your nails
It is imperative to file and shape your nails first because the ultimate goal is for your nail stickers to resemble your natural nails. After you’ve trimmed and evened up your nails, shape them using a nail file for a lovely, polished look.
Step 3. clean up your nails
To quickly soak your nails, submerge your hands in a bowl of warm water for a short time. Grab an orange stick and push your cuticles aside to give yourself a new look.
Step 4. select your nail stickers
It’s time to break out your nail stickers once your nails have dried. Each set of nail stickers is packaged on a transparent sheet with varying sizes to accommodate people with various nail sizes and shapes. Before taking the stickers from the sheet, lay them over your nails to choose the best size. Once you’ve chosen your stickers, it’s time to start sticking.
Step 5. peel your nail stickers
All you have to do is use your fingers to separate the strip from its backing. However, you can pull them up with a pair of tweezers if your nails are long or the stickers are very sticky.
Step 6. apply your nail stickers
Put the adhesive side down as close to your cuticle as you can. From the cuticle to the tip of the nail, gently press it against your nail. Place the nail art sticker wherever you like and smooth it down for a flawless finish if you use nail stickers to compliment your base nail color.
Step 7. file away the excess
Use a nail file to remove any excess polish strips hanging off your nails for a neat finish. Continue until all of your nails are covered in nail stickers.
Step 8. add a clear top coat
Apply a top coat for a lustrous finish once the nail stickers are on. Although unnecessary, we advise following this step for a durable and polished result.
How to remove nail stickers
When the edges of your nail decals begin to lift, it’s time to take them off. Find three approaches to completing the task below.
Option 1. peel and go
Your nail decals should be easy to remove when the time comes if they have been on for at least two weeks. If the stickers come off quickly, peel them off the raised edge.
Option 2. do an acetone soak
An acetone soak is an excellent approach to getting rid of tenacious nail polish stickers. Dab a little jelly on your cuticles to protect your nails while removing them. Place your fingers in a small bowl with acetone, and let your nails soak for ten minutes.
Use an orange stick to remove the stickers off the nails after your bath session. Repeat the acetone soak procedure for five minutes if the nail stickers remain in place.
Option 3. hot water soak
A hot water soak will work if you remove your nail stickers without using acetone. You only need to add a few drops of dishwashing soap to a small bowl of warm water. Put your hands in the bowl and give your nails 20 minutes to soak. You can carefully peel the nail stickers off once they are free.
