Contents
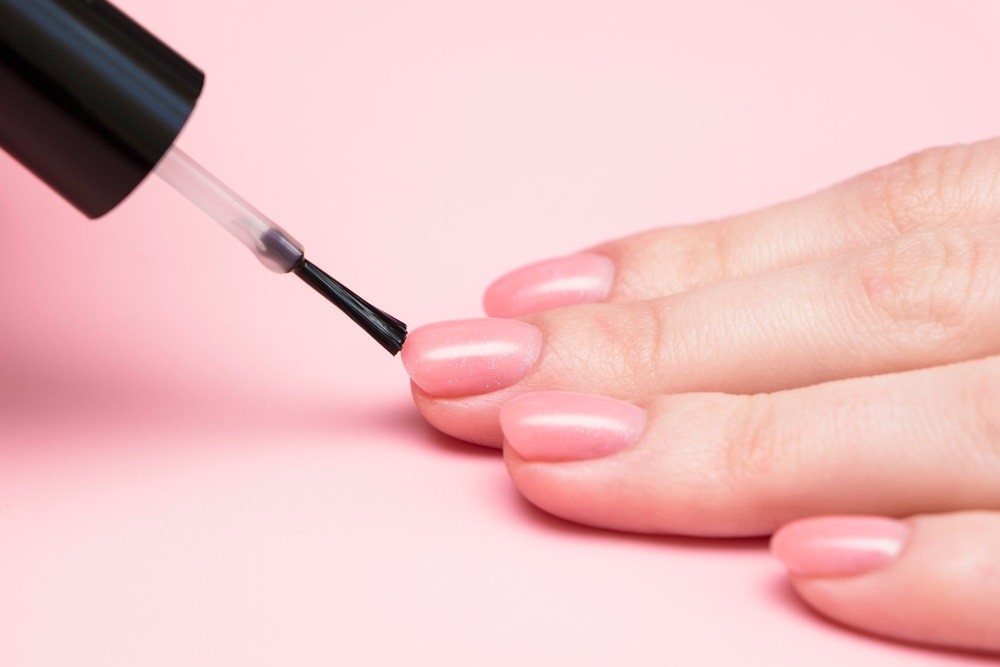
It’s challenging enough to paint your nails without worrying about getting the polish on your cuticles and fingertips. But sometimes, it seems like there is no hope left as you transfer the polish bottle to the other, non-dominant hand. Nail painting with the non-dominant hand can be unpleasant for those who lack ambidexterity, similar to disarming a bomb: one false move can spell disaster. With Maby, you can take the initiative in everything.
Despite having much more practice than the rest of us, even nail artists confess that they sometimes need a little help painting their nails. They claim you can do a few things to stop nail paint messes from ever occurring, even if you already have your go-to method for clearing them up. Here are three suggestions from nail technicians on how to paint your nails using the hand that isn’t your dominant one, whether right or left, to save time and effort on laborious cleanup. Please visit Maby blog to update the latest nail news.
It’s easier to paint your nails after getting the polish on your cuticles and fingertips. But sometimes, it seems like there is no hope left as you transfer the polish bottle to the other, non-dominant hand. Painting nails with the non-dominant hand for those who lack ambidexterity might feel as tense as disarming a bomb: one wrong move, and it’s over.
Even though they have much more experience than the average person in painting their nails, nail artists occasionally need assistance. Although you may already have a go-to method for cleaning up nail polish spills, they claim you can do a few things to stop them from ever occurring. Here are three recommendations from nail professionals for painting your nails with your non-dominant hand, right or left, so you don’t have to spend time or energy on laborious cleanup.
Keep your non-dominant hand balanced and stable
Tom Bachik, a nail technician, advises Allure, “The key to keeping your hands stable when polishing your nails, especially with your non-dominant hand.” Of course, it’s easier said than done. Nail artist and OPI North American education manager Sigourney Nuez advises painting with your non-dominant hand first. Try painting with your non-dominant hand first, she suggests, if you are worried about making a mistake. “Get the challenging part out of the way, and the rest of your manicure will be easy sailing.”
Each nail technician has a unique technique for maintaining control of the non-dominant hand. Nuez and Bachik advise painting nails on level, secure surfaces like a table or desk to prevent trembling or slipping. An alternative is to use a yoga block, or a shoebox turned upside down to support your arm for steadiness, as nail artist Gina Edwards suggested.
The tiny removable cap that some nail paint brands come with is another fantastic tool you can utilize to guarantee consistency. According to Bachik, “you may use the cap like a tiny pedestal to hold one finger at a time as you polish.”
Bachik suggests placing your dominant hand on your preferred flat surface while making sure it is pointing away from you when it comes to the painting itself. After that, you can use what Nuez refers to as “the fulcrum finger” to maintain equilibrium. This method, which Bachik describes in more detail, is also advised. To keep your polishing hand steady and apply polish only with your fingers, he recommends holding the polish brush in your non-dominant hand and placing your little finger down on the surface. Instead of keeping your hand raised and attempting to polish using your entire hand and arm, doing it this way will give you more control.
Have some nail paint remover on hand
No matter how much balance you attain, errors will inevitably occur. After all, even experienced nail technicians keep acetone and nail brushes nearby if something goes wrong. To make the entire manicure experience simpler, Nuez advises doing the same. Keep a cleanup brush and nail polish remover available at all times, she advises. “Your DIY mani will look more polished if you clean up any accidentally overflowed cuticles or sidewalls when painting your nails.”
If you don’t have a specific nail brush, she claims that an eyeliner brush will work just as well – just make sure it’s different from the one you’re attached to. She cautions, “Never use that brush on your face again because you’ll be dipping it in remover.” And if you have any old shot glasses, you can include them in your at-home manicure kit. She advises that you fill a shot glass with the remover to dip your cleanup brush in it to eliminate flaws quickly. But once exposed to nail paint remover, this shot glass shouldn’t be used for its intended purpose, just like the eyeliner brush.
Invest in liquid latex if everything else fails
If it is too much work to avoid cleanup, there is a solution to stop overpainting entirely. Edwards advises using a latex barrier polish around your cuticle to prevent slip-ups. Gel nails can be readily removed at home, whereas a nail technician in a salon often removes acrylic nails.
Before applying nail polish, you can wrap your nails in a sticky gel called liquid latex, which is widely available on Amazon. It dries into a thin, flexible solid between your nail paint and cuticles. After applying your polish, you peel the latex off to reveal clean fingers.