Contents
We gave the whole technique for an at-home manicure offered by the popular nail company Olive & June a try. Here is how it operated, along with some helpful hints.
I liken the process of unwrapping my Olive & June entire system, which comprises the cherished salon’s manicure and pedicure collections, to the surprise of attending a daytime get-together. The first thing that sprang to my mind was that even a lady who goes to the salon regularly deserves to have one of them at some point in her life. When you think about it, there are times when you only need a touch-up, periods when there isn’t enough time for a full-on manicure or pedicure, and others when you just don’t want or need another appointment on the schedule.
Nevertheless, I have gone too far ahead of myself. I am one of those people that work in salons. In point of fact, I had a weekly appointment with a manicurist every Monday until the confinement forced me to learn how to care for my nails on my own. Indeed, I was as generous as that.
So, it came as a pleasant surprise to see that Olive & June’s package provides not only free online training but also everything necessary for doing a flawless manicure and pedicure in the comfort of one’s own home. The company’s brand gives off an approachable vibe as if it is more concerned with ensuring your enjoyment than with increasing its revenue. After all, we receive instruction from experts on how to style our hair and apply cosmetics; why shouldn’t we also learn how to care for our nails?
According to Olivia Van Iderstine, who serves as the director of content and community at Olive & June, “the key to a stunning DIY mani is all about having the correct tools and a little bit of practice,” respectively. It’s almost as if your nails will paint themselves if you have the correct polish brush and a few other items with you. Please visit Maby blog to update the latest nail news.
I was excited to take on the challenge. This is what I have picked up. Let’s start with the following nail tutorial:
The 90/10 rule applies to nail clipping
After cutting out the majority of your form, you may finish it off by filling it out. And remember to apply it while the color is still on your nails; doing it this way is a revelation since it reveals your nail lines more clearly. Additionally, be sure you file your nails in the same way throughout. It’s a straightforward change, but the impact is significant.
Take the time to prepare your nails
When you have used nail polish remover to clean your nails, you should avoid touching them before applying new color. This will prevent the transfer of oils, which can shorten the amount of time the paint lasts on your nails. (Full transparency, I was the one who made this mistake; therefore, I dipped my fingernails back into the nail paint removal pot that was provided.)
Van Iderstine recommends keeping everything dry, buffing your nail plate lightly, and making sure to dip each nail in the remover pot before applying polish. “Keep everything dry,” he advises. “Getting off to a good start is always vital.”
She goes on to say that “you do not need water to obtain salon effects at home” and “water actually helps your mani and pedi chip quicker.” “Water causes the plate of your nail to expand, which results in the feared chipping and peeling polish in the future. Maintain the highest feasible level of dryness during the process for nails that refuse to move. Forget everything you thought you knew or needed to know about waterless manis and pedis because they are everything.
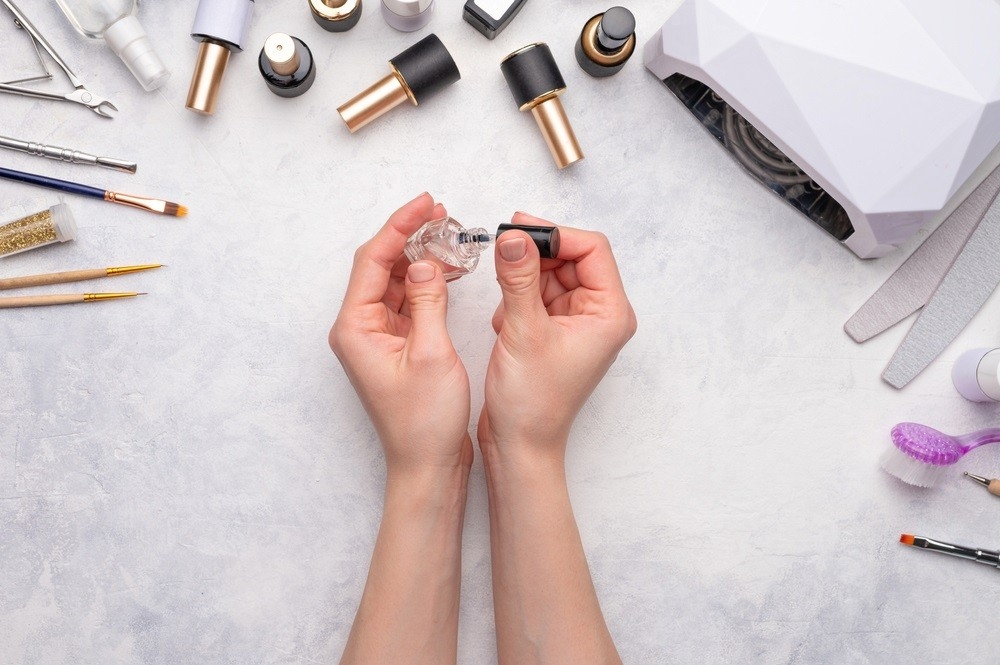
Paint your nails
The next step, which involves painting the nails, is by far the scariest of the entire process. Olive & June’s hallmark product, the Poppy, is a topper that has a pleasant grip for more control. In addition, the polish brush is flat rather than circular, which makes it much simpler to apply the polish. Following that, color removal is simple when you use a specialized brush: just dip the brush into the remover pot, remove any excess color with the brush, and you’re done. It is recommended that you apply a new top coat every two to three days to ensure the longevity of your color.
Make sure that your cuticles are taken care of
These days, everyone washes their hands more frequently, which results in cracked and dry cuticles. Keep in mind that you should use cuticle serum at least twice or three times a day for maintenance and that you should also use hand serum and foot serum. Happy cuticles lead to healthy nails, which in turn gives the impression that your manicure is brand new.
I am writing this with a great deal of surprise because everything turned out to be a lot simpler than I had anticipated, and my pedicure turned out great. It’s been a few weeks since I’ve looked at it, and so far, it hasn’t lost any of its integrity.