Contents
We’ve all been there: after seeing some adorable nail art ideas on Pinterest or Instagram, you decide to go out and get some new supplies in order to give them a try. You’ve been trying to give yourself a manicure for two hours, but you’re having trouble getting an even layer and are starting to understand why most people just go to a salon.
While getting a DIY manicure may seem like a smart idea at the time, there is a lot more work involved in producing salon-perfect results than meets the eye while you’re sitting in the salon chair, and the manicurist makes it appear easy.
Because I am a nail art enthusiast, I have sat in numerous salon chairs, absorbing the wisdom of expert manicurists and nail techs. I’ve had my nails done enough times to know the most frequent mistakes people make (including myself) and the easiest strategies to avoid them. If you can never seem to get a good coat of paint on your nails or your cuticles seem uneven, it could be worth it to consult a professional.
If you want to master the art of the DIY manicure, read on to find out nail tutorial the seven common blunders that nail technicians would rather we all stop doing. Please visit Maby blog to update the latest nail news.
1. Applying multiple coats
It’s more efficient, although more time-consuming, to apply numerous thin coats of nail polish rather than one thick one. Bamber suggests that “less is more” when performing a manicure at home, therefore it’s best to apply each coat of polish very lightly. She warns that doing this might make your manicure last much less time. Instead, you’ll end up with a gloopy, uncured (or not dry), and maybe peeling manicure after applying many thick coats.
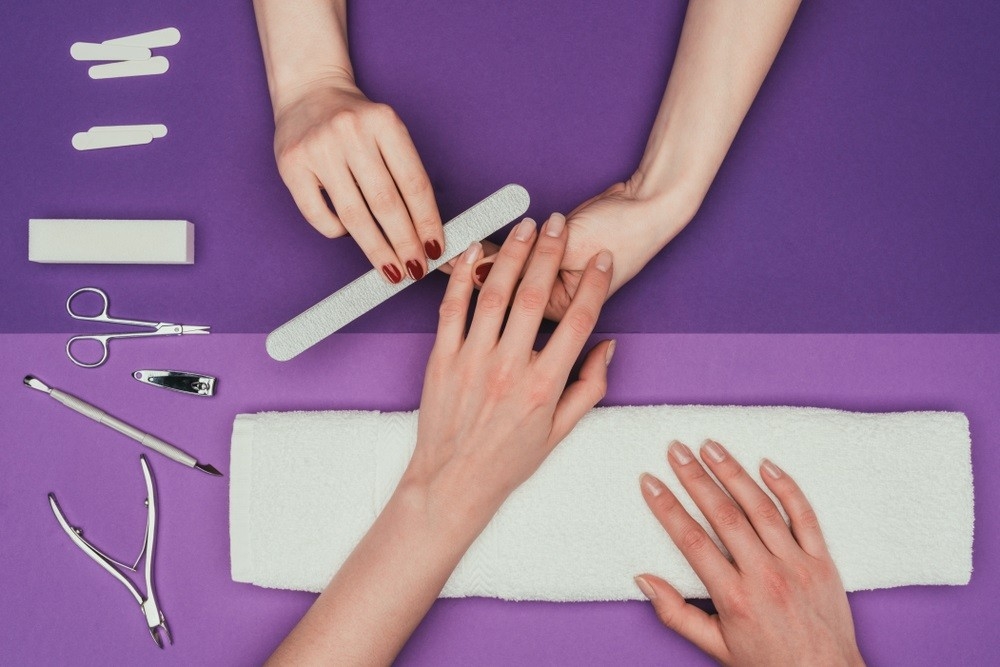
2. Having a messy home
Listen up if you feel like your at-home manicures never quite measure up to the quality of your visits to the salon. Bamber and Tucker agree that the most common error they see when clients try to do their own manicures is a lack of cleanliness. It’s also one of the simplest to prevent, yet Bamber says it happens anyhow. Especially if you’re using gel, your nails will peel off if you don’t remove the polish from the skin around them.”
Bamber advises applying nail polish by first making a single swipe down the center of each nail, then making a second swipe on each side (overlapping if necessary), and finally finishing with a single swipe along the very tip of each nail.
As a nail artist who is sensitive to gel polish, Tucker says she learned the hard way that the chemical changes when it dries in the light, so you have to be very careful while applying it and clean it off right away if you get any on your skin.
3 . Neglecting to prepare your nails
It’s hardly likely that you give priming your nails your first thought (and we mean more than just applying a base coat). But, before painting your nails, you should give them a thorough cleaning, just like you would your face. Nail expert Ashleigh Bamber recommends always dehydrating the nail plate using a dehydrator or acetone before applying your polish. If you omit this step, the gel paint won’t adhere to your nails and will chip off sooner than it should because of the oils, dust, and debris on your nails.
Dehydrator is a strong word for a product that dissolves oils in the nail so that polish can adhere uniformly and forcefully.
4. Without limits
You’ve probably never heard of capping before, but it’s the experts’ secret weapon for keeping nail paint in pristine condition. Tucker explains that “capping” is a technique used to ensure a secure product that won’t easily chip. Just dragging the tip of your brush along the tip of your nail is all that’s required, whether you’re using gel or conventional nail polish, before placing your hand under the lamp and while the rest of your polish is still wet. She recommends using as little paint as possible and applying it as thinly as possible to avoid a ridge developing.
5. Eliminating your nail cuticles
Even though you may be tempted to try your hand at trimming your own cuticles after seeing the salon’s technicians do it so expertly, you should definitely let the experts handle your manicure from here on out. Rose Tucker, a professional manicurist, adds, “Nail prep requires tremendous attention,” and she regularly sees clients who “completely obliterate” what they believed was dead skin, only to find out it wasn’t and are left bleeding. Tucker advises just cutting hangnails away from the skin to avoid discomfort and infection and then using a cuticle pusher on the nail plate to gently dislodge dead skin and cells. Cuticle softeners are also recommended to prevent buildup and assist the pusher in its task.
6. Lack of adequate aftercare
As Bamber puts it, “Oiling your cuticles every day is hands down the easiest and most efficient method to keep your at-home mani looking fresh and prevents it from lifting and peeling.” Tucker agrees, saying, “Good aftercare may be the difference between a five-day manicure and a three-week one.”
7. Removing your nail polish
Tucker warns that picking at your nails to remove gel paint or acrylics can cause irreparable damage. “Sure,” she admits, “it’s tempting when your gels are holding on for dear life in the shower.” “But the harm of improper removal may take months to restore and grows tougher to rectify each time.” In addition, she says, “they’re reusable, inexpensive, easy to use, and can be acquired from basically everywhere these days.” Also you can refer to: How To Remove Gel Nail Polish.