Contents
- Pink & white acrylic nails full sets
- Acrylic
- Gel
- Fills
- Maintenance
- Preparations for pink and white acrylic nails
- The benefits of pink & white acrylic nails
- How long do pink & white acrylic nails last?
- How frequently should acrylic nails be changed?
- How much does it cost to get pink and white acrylic nails?
- Full acrylic set
- Pink and white
- Gel polish
- Nail designs
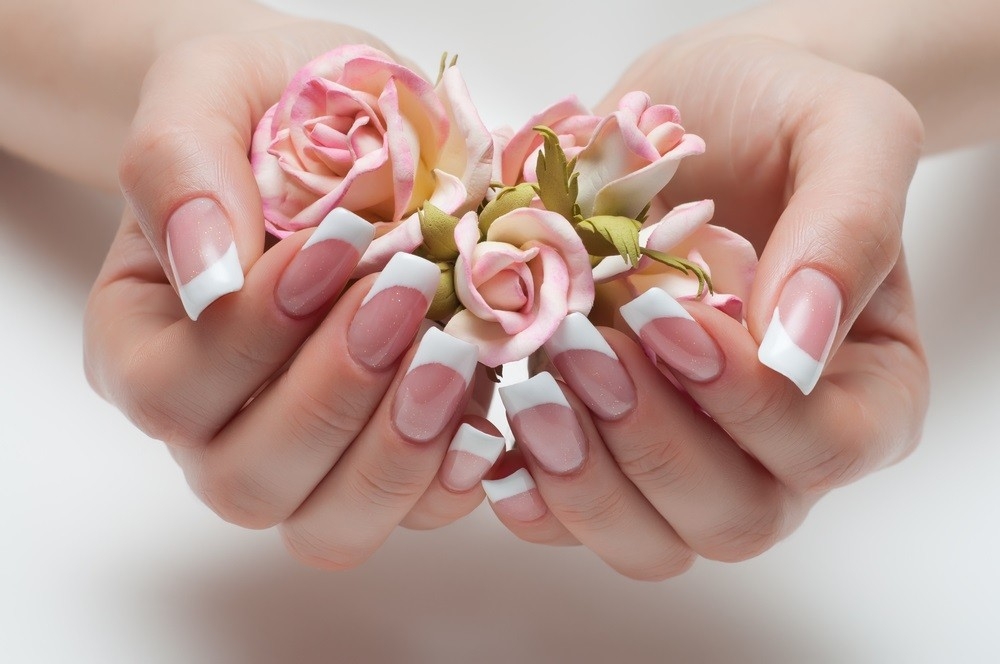
Pink and white acrylic nails, often known as French tips, are a style that features white tips on a pink manicure base. They are usually accomplished by sculpting or attaching a plastic tip to the nail and covering it in acrylic powder and/or gel. With Maby, you can take the initiative in everything.
Pink & white acrylic nails full sets
The manicurist will allow you to add a white or clear tip for length when you have a complete pink and white-set. The most straightforward tip is white plastic, whereas simple tips need to have white powder or polish sculpted on top of them.
Acrylic
To create an even surface, transparent or pink acrylic powder (polymer) is smoothed out with a brush after being put on top of the nail with a liquid (monomer). They become transparent as they solidify.
Gel
Use a gel to improve the nail’s appearance and make it shine more. UV gel aids in shielding the nail from the sun’s fading effects.
Fills
Depending on how quickly the nails grow, fills are required to keep pink and white at least every other week. Brushing acrylic powder over the area of new growth creates a smooth appearance by “filling” the space between the nail bed and the old acrylic.
Maintenance
The white tips must be backfilled in addition to the nail base being filled to prevent the white information from looking out of place due to its expansion. Fills and backfills, which are less expensive than the first complete sets, are the best way to maintain the pink-and-white style instead of executing full sets periodically.
Preparations for pink and white acrylic nails
There is a reason why acrylic pink-and-whites go on a challenging service to perfect, from cleaning and preparing the nails to use the product and adding the finishing touches to a finished set (and a staple of nail competitions, where the slightest error in the application is impossible to disguise). Here, we show you how to make the ideal pair of pink and white acrylic embellishments.
1. Wash your hands thoroughly
Wash your hands before starting your service, then ask the client to wash and dry her nails with a nylon nail brush. Dry your hands completely. To ensure that the forms will perfectly fit the bottom of the free edge, file and shape the natural nails with a 180-grit file, leaving the free edge level or square. Remove the shine from the natural nails using a fine-grit buffer, being especially careful not to harm the nail. You can use a fine diamond, round-tip e-file bit at a low speed, keeping the bit flat.
2. Remove dust from nails
Dust the nails by brushing them with a fresh one. Avoid touching the nails with your fingers, as this might cause incorrect product adhesion by transferring oils from your skin to the nails.
3. Apply dehydrator
When the dust has been eliminated, use a dehydrator to dry out the nail plate and remove any contaminants that may have remained on the nails. Apply one coat of priming to each of the ten nails using a sticky primer or a typical acid-based primer for more excellent adhesion (do not flood the cuticles or sidewalls with primer; apply liberally but sparingly). As your application forms on the nails, let the primer dry.
4. Decide on the reverse of traditional application
Pink and white acrylics can be made with a reverse or conventional technique. Apply the white stuff first for the standard style. Utilizing all the whites first helps you stay focused on a single approach and gives you the option to return and adjust the C-curve as necessary. A further reason to finish all the whites first and then switch to a different liquid to apply the pink product is that your liquid monomer will start to turn slightly milky as you work. It is ideal to use a single ball of white powder for each tip; simply pick up a ball, turn the brush over, and press any surplus liquid into a new area of the table towel. (Releasing extra fluid increases your control without accelerating the designated period.)
5. Timing on wiping smile lines
Knowing when to wipe your grin lines takes practice and product familiarity. Then, swiftly wipe it off while spinning the bristles’ tips on a table towel to create the ideal point. Do this with your sculpting brush. Wipe and adjust the curve of your smile line until the product stops moving and is nearly set up while holding the brush straight (with the higher end pointing to the ceiling).
6. Apply pink product
Once the white tip has been applied, apply the pink product. The pink will be difficult to apply if the white is used first and allowed to dry since it will be harder to blend the pink into the grin line. Press the pink to the smile line with a large ball without going over it in the center of the nail plate. Apply a second, smaller, wetter ball of pink above the cuticle and let it run over the nail for a smoother product gradation.
Check the profile of each nail after the pink has been applied to ensure that each apex is thick enough and situated over the important stress area. If you must add more makeup, choose a clear powder to keep away from muddying the smile line.
7. Remove the forms from the nails
The nails should be free of the forms. Make sure they are of the same length and shape from the tips, sides, and undersides of all nails with a hand file.
8. Shape the nail
Then, shape the surface of the nails with a hand file or a medium-grit e-file bit, beveling the product towards the cuticle to be flush with the natural nail. Examine the profiles of all 10 nails once more.
9. Remove the dust
Purge the nails of any particles. Repeat the filing procedures with a smooth buffer: All 10 nails should have shaped tips, sides, and undersides before the top layer is smoothed. Remove the dirt again and finish with a gel sealer for the shin.
The benefits of pink & white acrylic nails
- They are strong, resilient, and challenging due to their durability.
- They give the natural nails underneath a layer of protection.
- Applying nail art to their smooth surface is a great idea.
- Due to the client’s ability to select the nail’s length, more options exist.
- Due to their widespread availability, they are less expensive.
- Acrylic in pink and white lasts longer
How long do pink & white acrylic nails last?
Depending on your nail development, Pink & White Acrylic Nails should last six to eight weeks before requiring a fill every two to three weeks.
How frequently should acrylic nails be changed?
Your placement should last between six and eight weeks as long as you take care of your acrylics and visit your nail arts every two to three weeks for fill-ins.
How much does it cost to get pink and white acrylic nails?
The price of a set of acrylic nails depends on various parameters, from the essential full acrylic set with ordinary polish to a set with all the bells and whistles. The final cost will depend on your expectations for how your nails will turn out. Here is guidance on what to anticipate or how much to charge when setting up an appointment or giving your clients a price list.
The type of establishment you have, the location in which you are located, and the salon’s atmosphere are all influencing elements that might affect rates, ranging from simple and reasonable to luxurious and expensive. The price range has three main price tiers. Small, neighborhood stores are the least expensive, followed by spas and salons at the midrange, and hotels and resort spas at the highest price.
Full acrylic set
The price you charge or receive for a full set of acrylics depends on the salon you frequent or work at, the expertise of the nail technicians, and the atmosphere. A full set of acrylics alone often costs between $30 and $35.
Pink and white
You can choose a pink and white combination if you’re the woman who adores the traditional pink with the white-tip look. This is a different technique for applying acrylics to make your French manicure look natural. This process typically costs between $60 and $80, but if you want a continuous French design, it can save your client money.
Gel polish
You can choose a pink and white combination if you’re the woman who adores the traditional pink with the white-tip look. This is a different technique for applying acrylics to make your French manicure look natural. This process typically costs between $60 and $80, but if you want a continuous French design, it can save your client money.
Nail designs
The average salon fee for a nail design is $5. A French manicure is a popular, traditional, and timelessly stylish design that often costs an additional $5 to $10. Many clients choose an accent nail with a design rather than a design on each finger because obtaining a plan on every nail can get expensive rather quickly.